Black garlic is an energizing superfood rich in antioxidants and other beneficial nutritions. It is famous for its multiple healthy compounds such as S-allylcysteine, arginine, polyphenol, and amino acid. These compounds contribute to a lot of problems from fatigue recovery to diabetes prevention.
Read more about black garlic and its health benefits here:
Black garlic itself is not something you can grow, it is made by putting regular white garlic in a controlled heat for eleven days to three weeks. As it is kept in a steady and heated environment, the garlic bulbs will go through a Maillard reaction. Causing it to have a jet black color and complex flavor.
There are a few methods to make black garlic. Some people use aluminum foils to cover the garlic bulbs and put it inside a folding proofer. There are also some who experiment with sous vide technique to make black garlic.
This tutorial will mainly focus on making black garlic with a rice cooker. Compared to other methods, using a rice cooker to make black garlic is less complicated and almost impossible to mess up.
But if you’re more interested in buying black garlic instead of making it, check this aricle below:
Now, let’s get right to making black garlic!
 Content List
What You Will Need
Rice Cooker
Prepare one rice cooker that you’re willing to use to make black garlic only. After being used to make black garlic, the garlic odor tends to linger in the rice cooker, therefore making the tool unavailable to make rice and other food in it.
When black garlic is done, the bulbs itself won’t have a strong garlic odor. But the heating process still has the chance of leaving garlic odor in the rice cooker.
Paper Towels
Use about two regular paper towels. You can also use cooking cloth to replace paper towels.
Steamer Rack Plate or Steamer Basket
Use a steamer rack plate or steamer basket that can fit inside the rice cooker pot.
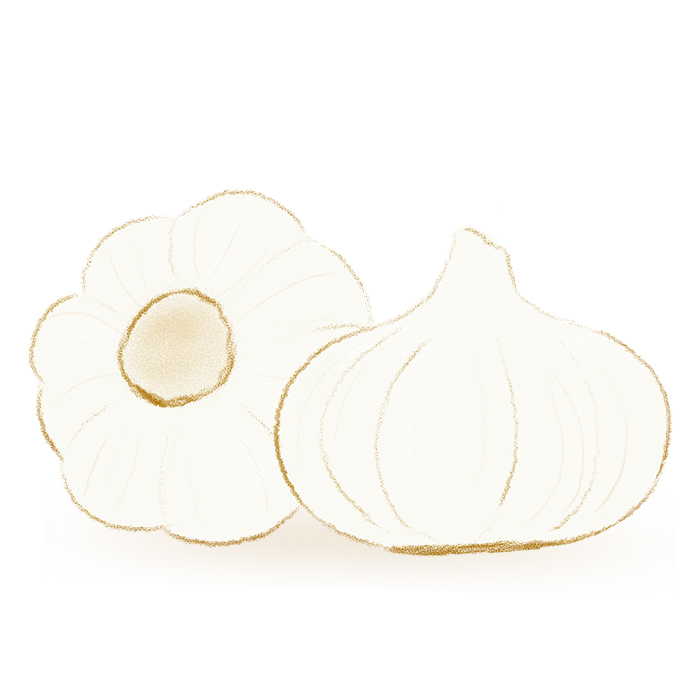
Whole Unpeeled Garlics
Use garlics that are unpeeled and still intact in the bulbs. No other ingredients are needed for black garlic.
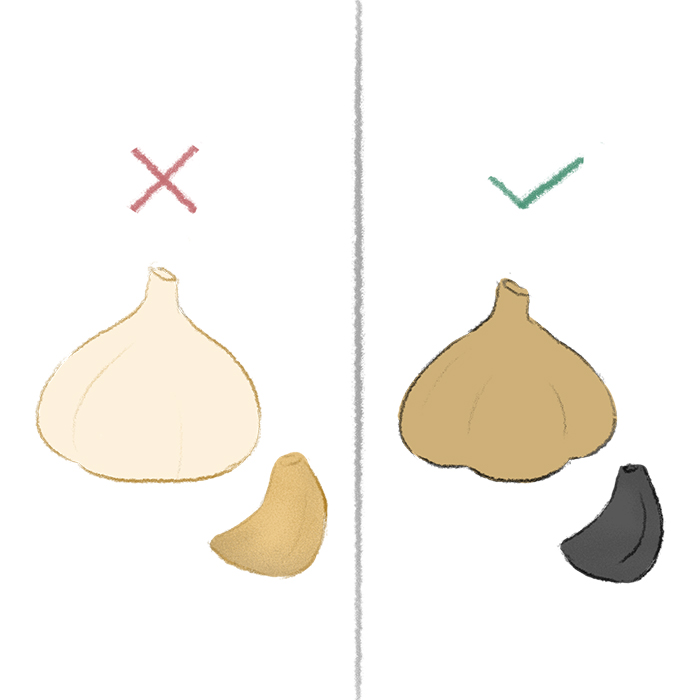
To get the best black garlic taste, use healthy garlic bulbs that haven’t developed a green sprout. Freshly harvested summer garlic also works great due to its good amount of moisture and no sulfurous flavor. Try to avoid using industrially produced white garlic or elephant garlic because they will result in black garlic that has very little sweetness.
How to Make Black Garlic
Step 1 Prepare about 10-12 whole unpeeled garlic
Moisture is important to the browning of black garlic. That’s why it’s better to keep the garlic skin intact to keep from rapid moisture loss. Garlic is not an especially wet ingredient, but it has enough moisture so it won’t dry completely during the heating process, hence the chewy texture. This perfect balance of moisture is enough to cause a Maillard reaction.
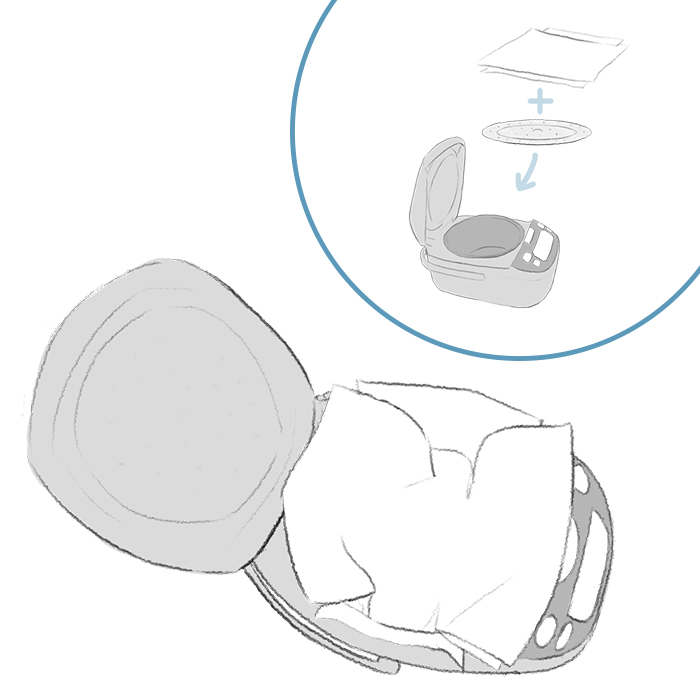
Step 2 Prepare the rice cooker with steamer rack plate and paper towels
Put a steamer rack plate at the bottom of the rice cooker. It will keep condensed moisture away from the garlic bulbs.
Cover the iron container with paper towels. This will prevent scorching on the garlic caused by direct contact with the iron pot of the rice cooker. It also acts as an absorbent of excess moisture if there’s any.
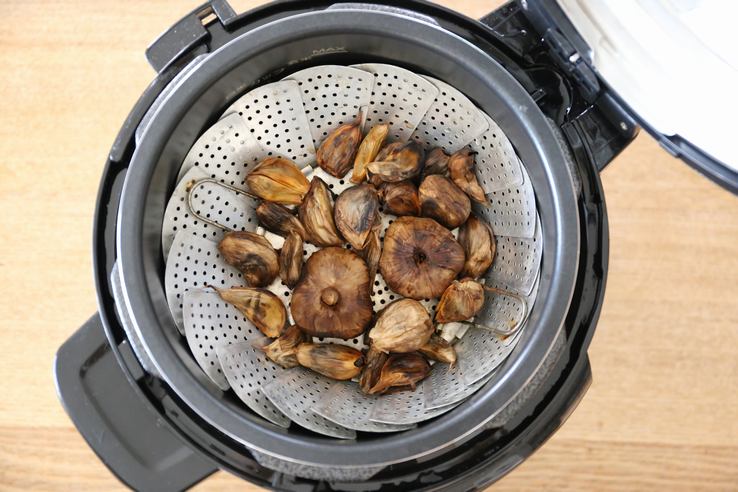
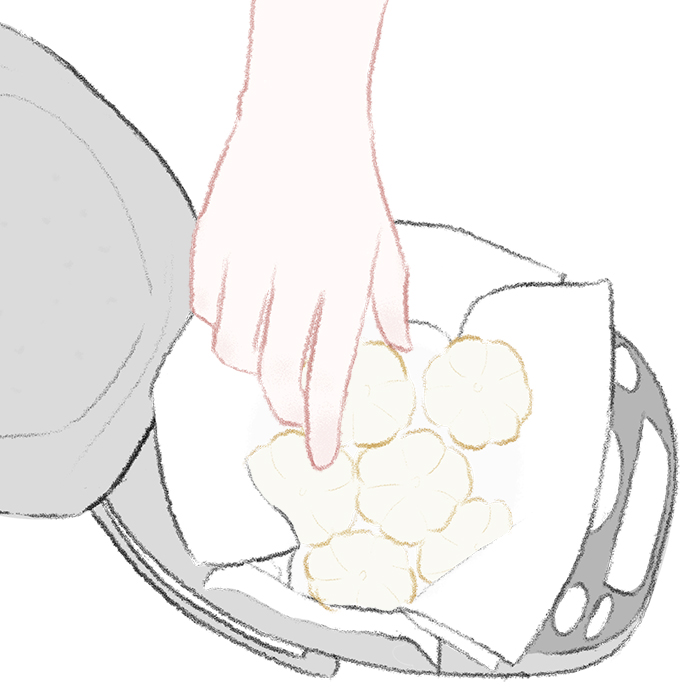
Step 3 Put the garlic bulbs into the rice cooker
After putting in the steamer rack plate and covering the pot with paper towels, put the garlic bulbs inside. It’s okay to put the garlic bulbs on top of one another.
After that, put one more layer of paper towels on top of the garlic bulbs to keep it from direct contact with the lid.
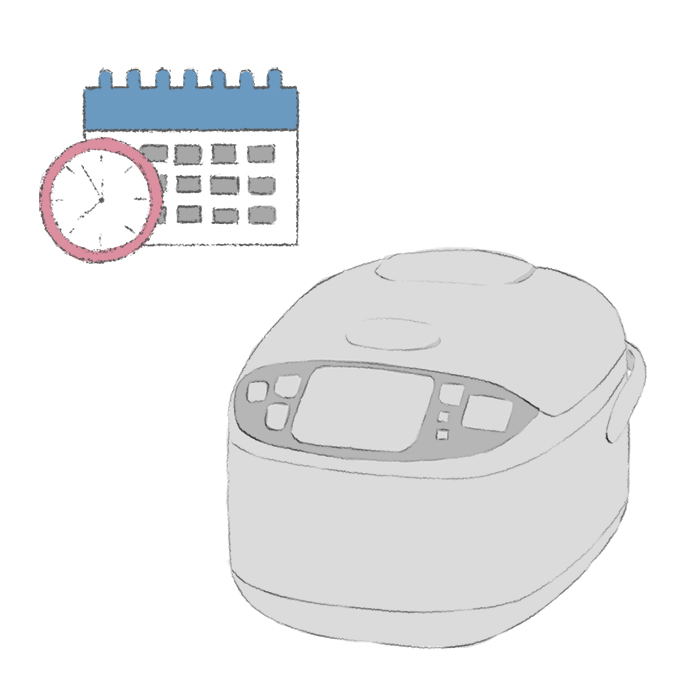
Step 4 Leave the garlics to blacken
Close the rice cooker and turn on the warm-setting (not cook-setting). If you have a rice cooker that can set a specific temperature, set the temperature to 70°C to 80°C. This temperature is proven to be the most ideal in terms of keeping the nutrients of black garlic.
If you can’t set a specific temperature, do not worry as most warm-setting on rice cookers is around 65°C to 70°C.
Leave the garlics to blacken slowly for 11 days to 3 weeks.
Step 5 Check the garlics after 10-11 days
The blackening time may vary depending on the rice cooker that you’re using. Check in on the garlic after 10-11 days to assess the progress.
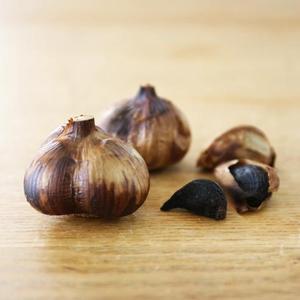
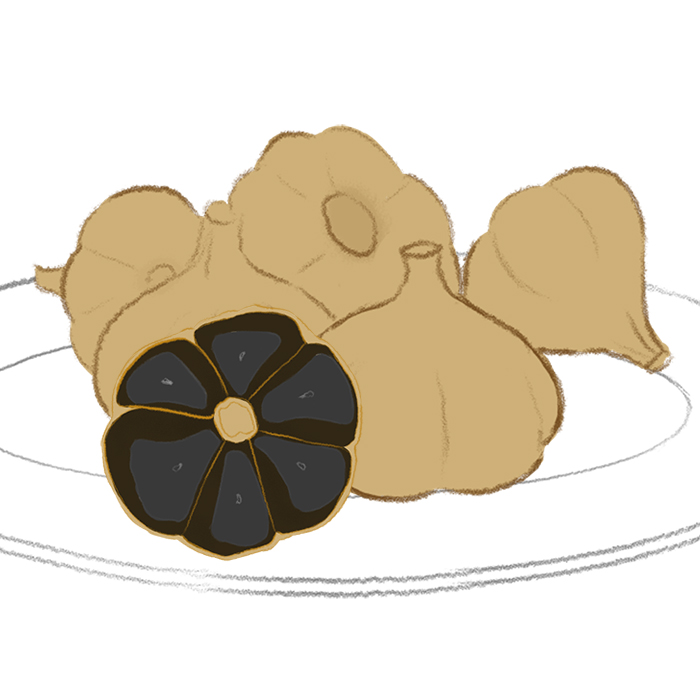
Finished black garlic has a brown skin and inky black cloves. It should taste sweet and has almost no garlic odor. Texture-wise, black garlic is soft and almost jelly-like. If the cloves are still brown and undone, it may need more time to blacken for a few more days.
Checking is important to make sure the garlic bulbs are not too dried out. If your garlic bulbs have blackened thoroughly, they are ready to take out from the rice cooker.
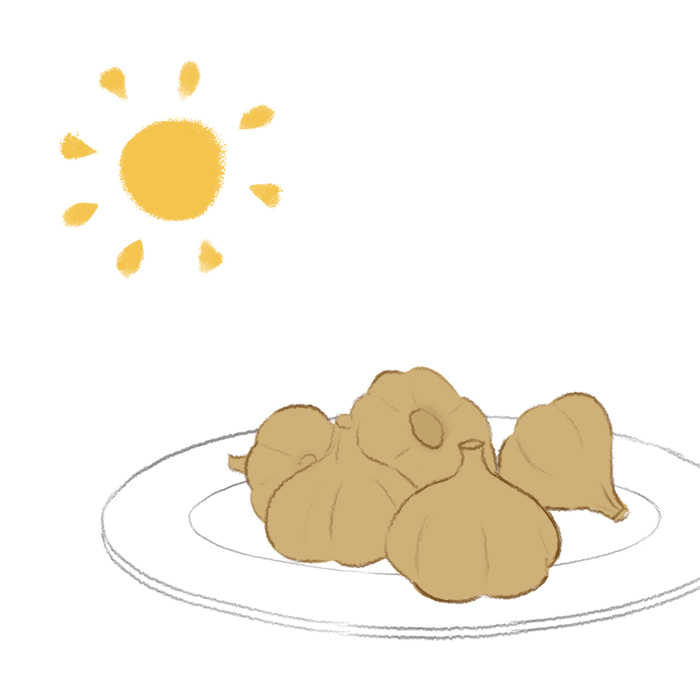
Step 6 Sun dry the finished black garlics
If your garlics have blackened perfectly, leave them at room temperature or sundry for one day. This will allow extra moisture and remaining odor to escape.
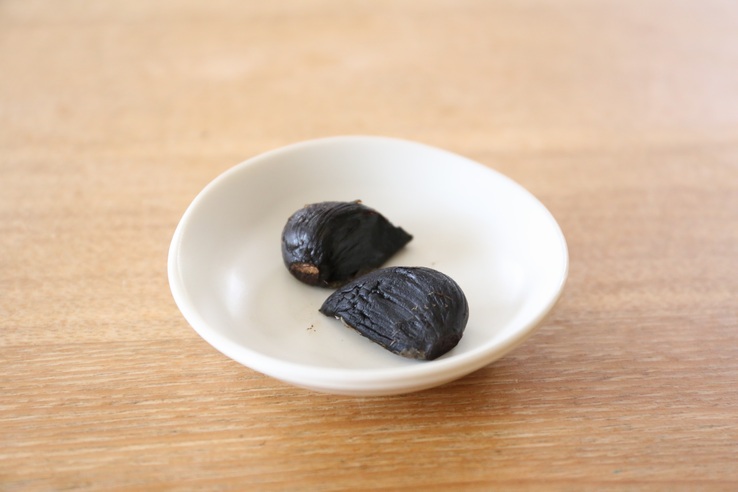
Step 7 Your black garlic is done!
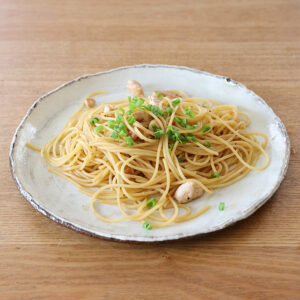
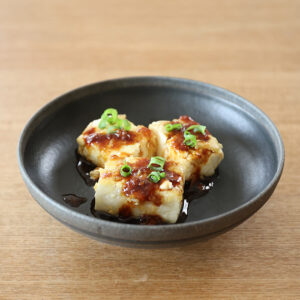
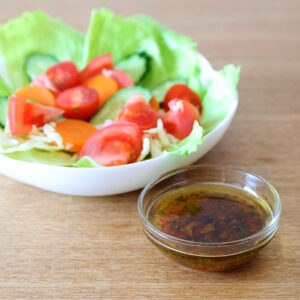
You can consume black garlic raw because it tastes sweet and leaves almost no odor in the mouth. Black garlic is also great to use as a cooking ingredient.
Store black garlic in the fridge or freezer for longer storage.
How to Know If They’re Done
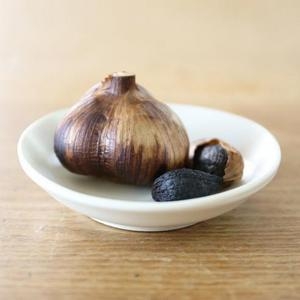
From the outside, finished black garlic has a tan to brown skin.
The cloves will shrivel and shrink a little bit from the peel. It also has an inky jet black color and soft but chewy texture. It should taste sweet with a mellow umami flavor.
If the black garlic is still brown in color, it probably needs a few more days to age. If you find any undone black garlic, just pop them back in the rice cooker and let it age some more.
The Dos And Don’ts of Making Black Garlic
| Do | Don’t |
|---|---|
| Make sure to remove the dirt or mold (if there’s any) on the garlic bulbs before aging it in the rice cooker. | Do not peel or remove the garlic peel when putting them in the rice cooker. |
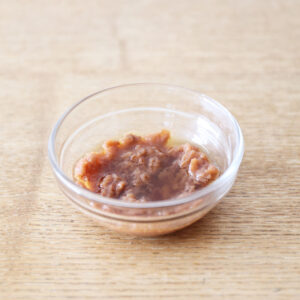
| During blackening, especially the first week, the garlic will emit pungent odor. We recommend putting the rice cooker in an open space to keep the room from smelling like garlic. | After It is done and ready to eat, don’t throw away the black garlic peels. Black garlic peel works really well as a stock base. |
| Let the garlic rest at room temperature after it’s finished aging. This will allow the remaining odor and residual moisture to escape. | Do not use bad quality garlic for it will affect the black garlic taste. We recommend using organic healthy garlic bulbs to make black garlic. |
What Causes The Garlic to Blacken?
Black garlic blackens through a chemical reaction called Maillard reaction. Maillard reaction is a chemical reaction that causes food to brown and have a characteristic flavor. Think charring on a grilled steak, or the golden brown color of caramel. Those are some of the examples of a Maillard reaction on food.
Even though raw garlic tastes strong and a bit spicy, it actually contains a lot of sugar. This sugar content and amino acid in garlic are necessary for the slow blackening process. As it goes through the Maillard reaction, the sugar content in garlic will be caramelized, making the taste more sweet and complex.
Frequently Asked Questions
- Is there another method to make black garlic other than using a rice cooker?
- Yes. There are people who have successfully made black garlic with sous vide technique or using a folding proofer. Food dehydrator can work as well.
- What is the best method to make black garlic?
- To make black garlic, we recommend using a rice cooker. It is one of the easier techniques that has less risk.
- Which garlic should I use to make black garlic?
- Use fresh healthy garlic that hasn’t shown any green sprout. Avoid using elephant garlic or industrially manufactured garlic because they have less sweetness.
- How to properly store DIY black garlic?
- Room temperature:
Wrap in a newspaper or paper bag, keep it in a cool place away from direct sunlight. If you made the black garlic yourself, the shelf life may differ depending on the garlics and humidity.Refrigerator:
Keep in a ziplock bag or any airtight container and put inside the fridge. First, let the container open to let out the warm temperature, after that you may close the container. This storing technique will let the black garlic last up to 6 months.Freezer:
Put black garlic inside a ziplock bag and store it in a freezer. Before keeping it in a freezer, you can peel the garlic or let the skin intact. Black garlic doesn’t freeze easily, so you can eat them after you take it out of the freezer or after returning it to room temperature. Storing black garlic in a freezer will allow the black garlic to last a year.
Recommended Products